Places 2 Visit

Showing posts with label zen. Show all posts

Wednesday, April 13, 2011

Asian (sort-of) Wall Art

Lots of picts...

Hello everyone wanted to share with you my little project I did today.
I purchased these bamboo table mats at Big Lots earlier in the summer. 
And had some ideas to what I wanted to do with them like make some floor mats for my kitchen, because I am still hunting for the perfect floor mats...
Instead I decided to make Asian Wall art. *sort of
At first I was going to cut out stencils and paint but decided to do what I use to tell my student
"free hand it" and just be creative. 


Yup a buck!!


I hot glued three of the mats together from the back making sure that the letters in the front are facing the right way...

Firmly pinching the seams together for a few seconds...


Then with my trusty paint brush, I free handed some Asian characters, after looking at some internet art.


I think it turned out  great!

It is now hanging on the wall in the loft area...
my hubby came home for lunch and said..
"Hey you need to make another one.."
I like the sound of that!


Tomingo Bookmark and Share

Friday, June 11, 2010

My Style...Our Home

Over the past 3 months, I have been researching and blogging and storing information on my computer, oh my poor computer, on what I think will look nice in our new home. I went as far as to take a test on D.I.Y that will show you different samples of home designs, and once you have completed the test it will then 
 adds every thing up and and as a result of  my style it said my preference is Zen...

GO Figure!

I love the minimalistic design of Zen or Asian Design. 
I also am a fan of old world styles, like Italian Moors,Spanish designs. 
I am not sure how thats going to all  work, but with the vast amount of information I have gathered and whats in my head.
I will come up with something!
So I am sharing with you a few samples that I will either make, create or buy. 
Depending on my mood.
Enjoy


I never thought I would be a fan of Sun Burst but its starting to grow on me.

Sunburst with small mirrors.


I have two end tables that I plan on refurbishing, I plan to paint them black and then find a piece similar to this one below to place in the upstairs hallway.


Pictures and Art work
I enjoy art. And when the mood hits me I will pick up a paint brush or pencil and begin create.
Not only will I incorporate my own art in my home, I plan to use my children's art work as accent pieces.


I love the colors in this piece.

Simplistic, yet Bold!


Lighting. 
Is the one thing people neglect when decorating their home. 
I plan to have a nice selection of lighting in my home.
Of course this is just the tip of the iceberg soo much to do....


Saturday, June 5, 2010

Myles of Style


Love this episode...she took a plain master bedroom and made it a Zen retreat.


Monday, May 31, 2010

Zen Inspired Rooms

There is definitely a theme going on for decorations in our new home.
And I am fortunate to have a "hubby" that loves this particular style as well.

All photos can be found on Decor Pad

Zen inspired rooms.


Tuesday, May 25, 2010

Zen


I do love Zen or Japanese Style of design and found a cool website called Architectural Artisan there specializes in doors and windows that use that type of motif. Beautiful display of pictures.

Saturday, May 22, 2010

Friday, May 21, 2010

HGTV Color Splash Asian Inspiration...David Bromstad


I am a fan of David's Bromstad Color Splash, there really has not been a show he has done that has not been inspiration to me. Here is just another example. enjoy


Thursday, May 20, 2010

Dresser Redo


Once again Centsational Gal was challenged to make a 15$ Good Will find and turned it into a million bucks. Check out her step by step demo on how she accomplished this. With Mayonaise and Stain...
no kidding mayo...


Fantastic!!


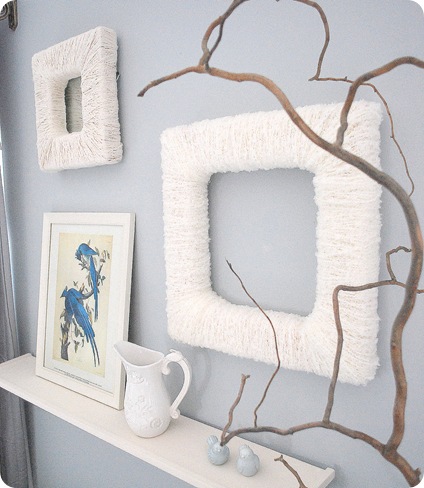
Picture Frame uplift


I really love this idea thanks to Centsational Girl
She made a simple picture frame and wrapped it with yarn...
Even though she made her's... yard sales and good will have tons of old frames that are waiting to be made FABULOUS!
Clever!!!

Wednesday, May 19, 2010

Old-World/ Tuscan Style Room

I am in love with this wall. I so would like to do this in my loft area or master bed room. 
Sooo, many choices, and possibilities.
 I can hardly wait!

~~Color assistant Danielle Hirsch creates texture on the walls with a rag technique. The result is typical of an Italian villa. The middle stripe is actually not the middle hue: Bromstad makes that color the most intense color ((GOLD)) because he wants to keep the eye at that level in the room.~~


Product Information
paint: bottom band (1054 Sherwood Tan), middle band (1071 Fairmont Gold), top band (1056 Edgewood Rocks) – Benjamin Moore


wasabi vase (item# 564500140, item # 564555462), red laquer vase (item # 120432098), dellaroca vase (item# 564579791), wooden spheres (item# 160810953, item# 160810992), fortune vase (item# 120743963, item# 120743607), olive branches (item# 551209236), steamliner coffee table (item# 011009595)


barley twist floor lamp (item# 8536922), bedside lamp (item# 8536963), drum shades (item# 8938599, item# 8938623), curtain rods (item# 7697094 – Discontinued) 


toss pillows (item# 067082903) 


law bookcase (item# 1CA013B)  


Photobucket

Tile Coffee Table


Materials:
existing wrought iron coffee table – square or rectangular
travertine tiles
ceramic accent tiles
3/4-inch plywood
knotty pine boards
biscuit joiner
biscuit joints
thin set 
stone sealer
stain
wood glue
tile cutter
table or circular saw
chop saw
Steps:
For the bottom shelf:
1. Cut pieces of knotty pine strips to the exact measurement of the bottom shelf of the table.
2. Using biscuit joiner, attach strips together using biscuits and wood glue. Allow pieces to dry.
Figure A - Three boards are joined together then stained for the bottom shelf of the table.
3. Stain the wood and let dry.
4. Insert piece onto the coffee table's existing framework.
For the top shelf:
4. Cut 3/4-inch plywood to exact measurement of existing frame.
Figure B - Carefully layout and mark your pattern before applying adhesive to your tile.
5. Determine the layout of your tile and measure each piece. Use a pencil to mark the layout on the plywood.
6. Using a tile cutter, cut travertine tiles to appropriate size and design.
7. Attach all tiles to the top of plywood using thinset.
8. Allow time for the tiles to dry. Apply sealer.


Bamboo and Tile Photo Display


Tools and Materials: 
10 pieces of 7”x7” raw slate 
10 photos printed onto vellum paper (semi transparent paper)
industrial-strength spray glue
clear polyurethane spray
three wood dowels for trim
twine
3-inch screws
two dark bamboo rods (3”x6’)
drill with a masonry bit
hot glue gun and glue sticks
Figure A
Steps: 
1. Cut prints into 5”x5” squares (figure A).

2. Drill a small hole on the top of each piece of slate.
3. Attach photos to the center of the slate squares using spray glue. Press gently to secure.
4. Spray finished piece with clear polyurethane.
Figure B
5. Use hot glue to frame out each picture with wood dowels.
6. Run the twine through hole and secure with a strong knot (figure B). Leave enough slack to tie to the bamboo.
7. Drill evenly spaced holes in the bamboo rods. Thread the twine through the holes and knot.
8. Secure entire piece to wall studs.


Photobucket

Sliding Shoji-Screen Doors for an Entertainment Center

HGTV Design on a Dime


Tools and Materials: 
entertainment center/bookshelf
ebony stain
two pre-built bookshelf frames 
roll of rice paper
four pieces of 8-foot shelf cleat 
spray adhesive
four 1/4" square dowel rods
nail gun
chop saw
Steps: 
1. Stain dowel rods, frames and entertainment center.
2. Use spray adhesive to attach rice paper to the rear of the bookshelf frames.
Figure A
3. Cut away excess rice paper (figure A).
4. Nail ebony frame onto the front of the bookshelf frame.
5. Cut dowel rods to size and attach to face of rice paper.
6. Cut the shelf cleat and attach it to the top and bottom of the frame.
7. Attach the corresponding cleat to the front of the entertainment center.
8. Slide frames over cleats to make a pair of horizontal sliding doors.


Photobucket

Tuesday, May 18, 2010

How to Install Pebble/ Any Tile


This is a great idea and I can not wait to tackle this project in my new home. How to install Pebble Tile.


Here's Lowes Demonstration
Very good and clear the design is boring however the tutorial is great!


Installing a Kitchen Back splash 


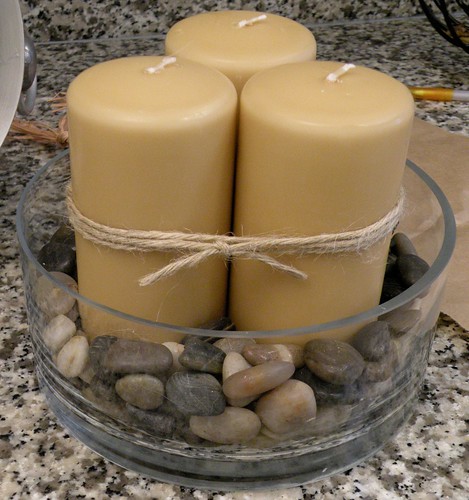
Zen Candle Holder


Here at The House of Hepworths, they show you a great idea on how to make this cute candle holder.

Monday, May 10, 2010

Modern Homes Decors


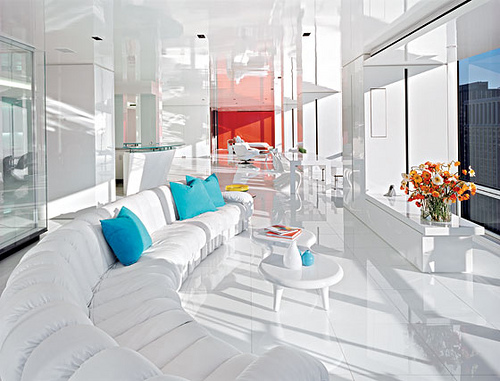
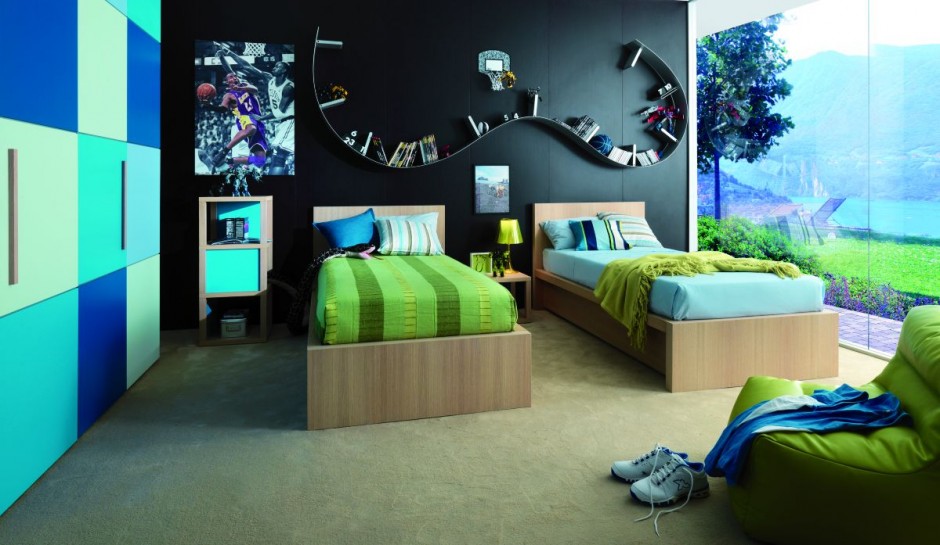
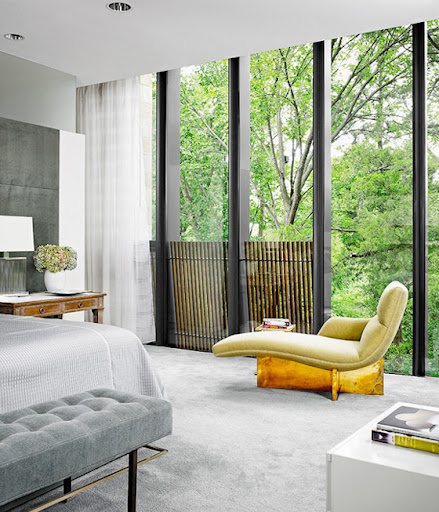
PhotobucketThrough my obbession of home ideas I have come accross some really nice photos of homes decors I would like to share...I retrieved this pictures from Home House Design Dot Com...


Quotes

Show me someone who never makes a mistake and I'll show you someone who never does anything.